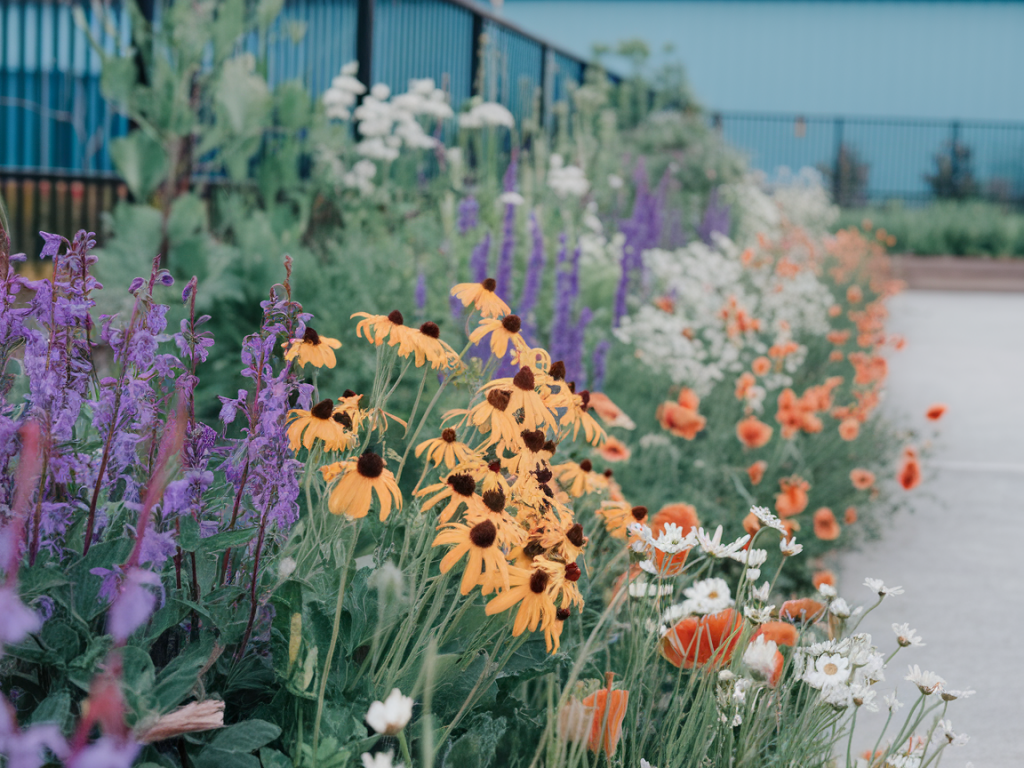
I built my first pollinator-friendly berm after a summer of watching bees struggle across a sea of mown grass. Since then I've made several versions — on a tight urban lot, in clay soil, and on a sun-baked slope — and each time I learn something new. A berm is a small raised mound that adds height, improves drainage and gives you a chance to create layered habitat that blooms from spring right through to the first frost. Below I share the practical steps I use, plant choices that work where I garden, and the seasonal care that keeps a berm productive and welcoming for pollinators.
Why a berm is great for pollinators (and for small gardens)
I love berms because they do a lot with little space. Raised soil warms faster in spring, which helps early bloomers get going. The slope offers microclimates — the sunny face, the shadier back — and that variety lets you mix species with different needs. For pollinators, a berm with a long bloom sequence means continuous nectar and pollen: early bulbs for bees coming out of hibernation, mid-season perennials for butterflies and native bees, and late-season asters and sedums that feed insects before winter.
Planning: site, soil and size
Before you build, I always take a few minutes to observe sunlight, prevailing wind and where water flows across the yard. Most pollinator berms do best in full sun (6+ hours). If your site is shadier, choose shade-tolerant natives.
Size: mine are usually 1.2–2.5 metres long and 0.6–1 metre wide at the top — large enough to plant layers but small enough to maintain. Height is typically 30–60 cm; taller berms can be dramatic but need more soil and water to establish.
Soil: berms drain, so they suit plants that don’t like wet feet. If you have heavy clay, I mix in compost and sharp sand or grit. For poor sandy soil, add compost to retain moisture. Aim for a loose, well-draining mix that’s about 30–40% organic matter for the planting zone.
How I build a berm step-by-step
Plant palette: natives that bloom from spring to frost
I choose plants first for bloom timing, then for form and habitat value. Below are category suggestions — substitute your local native equivalents when possible. Native pollinators are adapted to local flora, so check with a regional native plant society or seed nursery.
I always include at least one milkweed for monarch caterpillars, a couple of nectar-rich salvias or sages for hummingbirds and long-tongued bees, and several low-growing groundcovers to protect soil and provide habitat for small solitary bees.
Planting plan and spacing
Think in drifts of 3–7 plants of each species rather than singletons. Here’s a simple planting table I often sketch before planting:
| Layer | Depth/Spacing | Example plants |
|---|---|---|
| Foreground (low) | 10–20 cm apart | Thrift, native wild strawberries, small sedums |
| Mid-layer (perennials) | 30–45 cm apart | Echinacea, Rudbeckia, Monarda, Penstemon |
| Back/upper slope (taller) | 45–90 cm apart | Native grasses, small shrubs, Ceanothus |
Watering and establishment
During the first year I water regularly but deeply: once or twice a week depending on rainfall. After plants set roots, most natives will need minimal irrigation. Use a drip line or soaker hose to keep mulch undisturbed and reduce evaporation.
Tip: adding a layer of mycorrhizal inoculant at planting helps roots find nutrients and water faster — I’ve had better survival rates with it on challenging sites.
Maintenance through the seasons
Spring: remove winter debris and check for soil settling; top up compost in planting pockets. Deadhead spent early blooms to encourage more flowering.
Summer: monitor for drought stress; infrequent deep watering is better than frequent shallow sprays. I avoid pesticides; instead I use hand removal for large pests and encourage predatory insects by keeping some leaf litter in a corner.
Fall: leave seedheads and stems through winter when possible. Many bees and beneficial insects use hollow stems and seedheads for shelter. Cut back structurally only in late winter or early spring.
Dealing with problems
Slugs and snails: set beer traps or use copper tape around vulnerable plants. I find slug-resistant varieties and gritty mulch reduce damage.
Weeds: a thick mulch and planting densely helps. For invasive roots, remove the root crown promptly before they re-establish.
Pests and disease: if you see aphid outbreaks, blast with water first and introduce or encourage ladybugs. Fungal issues often come from poor air circulation or too-rich soil — reduce crowding and avoid heavy nitrogen feeds.
Design tips that please both bees and people
Building a pollinator berm is a weekend-friendly project that returns season after season with color, wildlife and a happier garden ecosystem. If you’d like, tell me your region and soil type and I’ll suggest a short plant list tuned to your area.