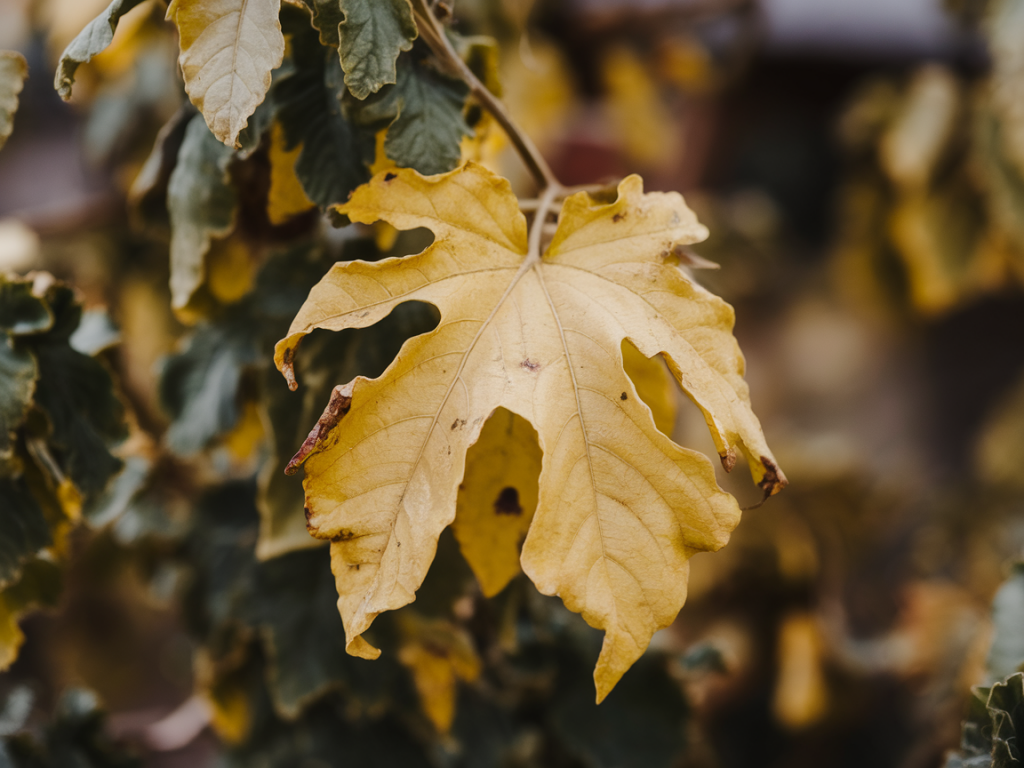
I always get a little pang when I see leaves going yellow on a plant I care about. Yellowing — or chlorosis — is one of those common garden signals that can come from many different problems. Over the years I’ve learned that the key is to look at the pattern of yellowing, feel the soil, check the pot or bed, and think about recent changes. Below I walk through seven specific causes I see most often, how to tell them apart and practical treatments you can try this weekend.
General diagnostic checklist
Before diving into causes, I run the same quick checklist on every yellowing plant. It helps me narrow the problem quickly:
Where is the yellowing appearing first — older leaves or new leaves?Is the yellow uniform, or mottled with green veins (interveinal chlorosis) or brown spots?Has watering or fertilizing changed recently?Is the soil soggy or bone-dry? Smell the soil — musty or rotten smells point to rot.Any pests visible underside of leaves, on stems, or in soil?With those answers in hand, here are the seven causes I check for, with the signs and step-by-step fixes.
Poor drainage / overwatering
Why it happens: Roots need air. When soil is waterlogged, roots suffocate and begin to rot, which prevents them from absorbing water and nutrients — and the leaves go yellow.
How to recognize it:
Lower leaves yellow first, often wilting even though soil is wet.Soil feels soggy, may smell faintly of rot.Brown, soft roots when you gently slide the plant from its pot.What I do to fix it:
For potted plants: remove the plant, inspect roots and trim dead, brown roots with clean scissors. Repot into fresh, well-draining mix (I like mixes with 10–30% perlite or pine bark).Improve drainage: add a layer of gravel at the bottom of heavy pots only if it helps water move faster to the drain hole; better yet use a coarser potting mix or a pot with larger drainage holes.For garden beds: loosen compacted soil with a fork and work in organic matter (compost) and coarse sand if your soil is heavy clay. Consider raising the bed slightly if the area stays wet.Hold off on fertilizer until roots recover — new shoots on weakened roots can worsen stress.Underwatering / drought stress
Why it happens: When plants can’t get enough water, they conserve by shutting down leaf function and yellowing can follow.
How to recognize it:
Leaves are dry, crispy at the edges or overall, and may curl.Yellowing often begins on older leaves and moves inward.Soil is dry below the surface when you stick a finger 3–4 cm down.What I do to fix it:
Soak the rootball deeply — a slow, deep watering encourages roots to go deeper. For pots, submerge the pot in a bucket of water until bubbles stop rising, then allow to drain.Mulch garden beds with 5–7 cm of organic mulch to retain moisture and moderate soil temperature.Improve watering routine: for many perennials and shrubs, deep watering once or twice a week is better than daily shallow watering.Nutrient deficiency (nitrogen, iron, magnesium)
Why it happens: Deficiencies create distinct yellowing patterns. Nitrogen-deficient plants yellow uniformly starting on older leaves. Iron deficiency typically shows as yellow young leaves with green veins (interveinal chlorosis). Magnesium deficiency causes yellowing between veins on older leaves and sometimes reddish margins.
How to recognize it:
Nitrogen: overall pale green, older leaves first.Iron: new leaves yellow with green veins.Magnesium: yellowing between veins of older leaves, sometimes with purple spots.What I do to fix it:
Nitrogen: feed with a balanced, slow-release fertilizer (brands like Osmocote or a compost tea) or a liquid feed high in nitrogen if you need a quick lift.Iron: apply chelated iron to the soil or as a foliar spray (chelated iron products are sold as Fe-EDDHA/Fe-EDTA). Iron works best if soil pH is not too alkaline — if your soil is high pH, lowering pH with sulfur amendments or using chelated iron is important.Magnesium: Epsom salts (magnesium sulfate) dissolved in water and applied as a foliar spray or soil drench can correct deficiency—try 1 tablespoon per gallon (about 15 g/L) as a foliar treatment every 2–3 weeks until improved.When in doubt, do a simple soil test. Local extension services or home test kits can tell you pH and major nutrient levels.Soil pH problems
Why it happens: Some nutrients become unavailable at extreme pH levels. Iron, in particular, is unavailable in alkaline soils, causing yellow new leaves even when total iron is adequate.
How to recognize it:
Interveinal chlorosis on new growth; symptoms despite regular feeding.You may have known alkaline soil (lime-based) or heavy use of wood ash.What I do to fix it:
Test the soil pH with a simple kit or send a sample to an extension lab.If pH is too high (alkaline), add elemental sulfur or iron chelate to the soil and use acidifying organic mulches like pine needles for acid-loving plants.For potted plants, repot with an acidifying potting mix suited to the plant’s needs (azaleas, camellias need acidic mixes).Pests and disease
Why it happens: Sap-sucking insects (aphids, whiteflies, spider mites) and foliar diseases (fungal leaf spots, root rot pathogens) can cause yellowing, often with other visible signs.
How to recognize it:
Look under leaves for tiny insects, webbing (spider mites), sticky honeydew (aphids) or small spots and mold.Fungal infections often create yellow halos or yellowing around spots; root diseases usually follow waterlogged conditions.What I do to fix it:
For pests: physically remove insects, spray with insecticidal soap or a neem oil product (e.g., Bonide Neem Oil) early in the morning. For heavy infestations try a systemic insecticide as a last resort, and always follow label instructions.For fungal diseases: remove infected foliage, improve air circulation, avoid wetting leaves when watering. Use copper or sulfur fungicides for persistent garden problems.For root pathogens: improve drainage, repot into clean soil, and consider biological controls like Trichoderma products in severe cases.Environmental stress (temperature shock, transplant shock, light)
Why it happens: Sudden changes — a cold snap, exposure to intense midday sun after shade, or recent transplanting — can make leaves yellow as the plant rebalances.
How to recognize it:
Yellowing follows a recent change: moved pot, unseasonal frost, or sudden pruning.Leaves may also show scorch or browning at edges.What I do to fix it:
Give plants a stable recovery environment: shade cloth for sunburned plants, frost protection for cold-sensitive species, and consistent watering for transplants.Hold off on fertilizing transplanted plants for a few weeks — encourage root establishment first.For indoor plants moved outdoors, harden them off slowly over 1–2 weeks.Quick reference table: causes, signs and immediate action
| Cause | Typical signs | Immediate action |
| Poor drainage / overwatering | Soggy soil, wilting despite wet soil, brown roots | Improve drainage, repot with well-draining mix, trim rotten roots |
| Underwatering | Dry, crispy leaves, soil dry deep down | Deep soak soil, mulch, adjust watering schedule |
| Nutrient deficiency | Patterned yellowing (old vs new leaves) | Targeted feeding (N, chelated Fe, Mg via Epsom salts) |
| Soil pH issues | Interveinal chlorosis, poor response to fertilizer | Test pH, acidify or alkalize soil appropriately |
| Pests / disease | Insects, spots, webbing, mold | Remove affected tissue, use insecticidal soap / neem, fungicide if needed |
| Environmental stress | Sudden onset after move, heat/cold damage | Stabilize environment, protect from extremes, be patient |
When I troubleshoot yellow leaves, I rarely rely on a single fix. Often the right solution is a combination: correct drainage, a targeted feed, and a short period of protective care. If you’re still unsure, snap a clear photo of the plant (show the whole plant, a close-up of affected leaves and the soil surface) and compare with the checklist above — or send it to me through the contact options on groupegarden.com. I love helping gardeners decode these signals and get plants back to green and thriving.