I’m a big fan of simple, low-cost solutions that make a garden feel cared for without demanding every spare minute of my time. On hot summer weeks when I want to leave town or just spend more time enjoying my plants than dragging watering cans, I turn to an old technique: ollas. These unglazed clay pots buried in soil slowly release water directly to the roots, and with a few affordable materials you can set up an effective olla system for balcony pots that can keep plants hydrated for a week or longer.
Why I use ollas for balcony pots
Ollas are ancient, eco-friendly, and efficient. They reduce evaporation because water moves from the clay into the soil via capillary action and roots draw what they need. For balcony gardeners dealing with limited space, wind, and containers that heat up quickly, that direct, slow release is a game changer. I like them because:
What you’ll need
Here’s a list of basic materials to set up a single olla in a balcony pot. I usually prepare a set of them for my larger planters.
If you prefer buying ready-made ollas, look for “terracotta olla” or “sub-irrigation clay pot” from garden suppliers—brands like Lechuza make self-watering planters but traditional ollas are much cheaper (often $10–30 depending on size).
How to size and place ollas in balcony pots
Choosing the right olla size is key. As a rule of thumb:
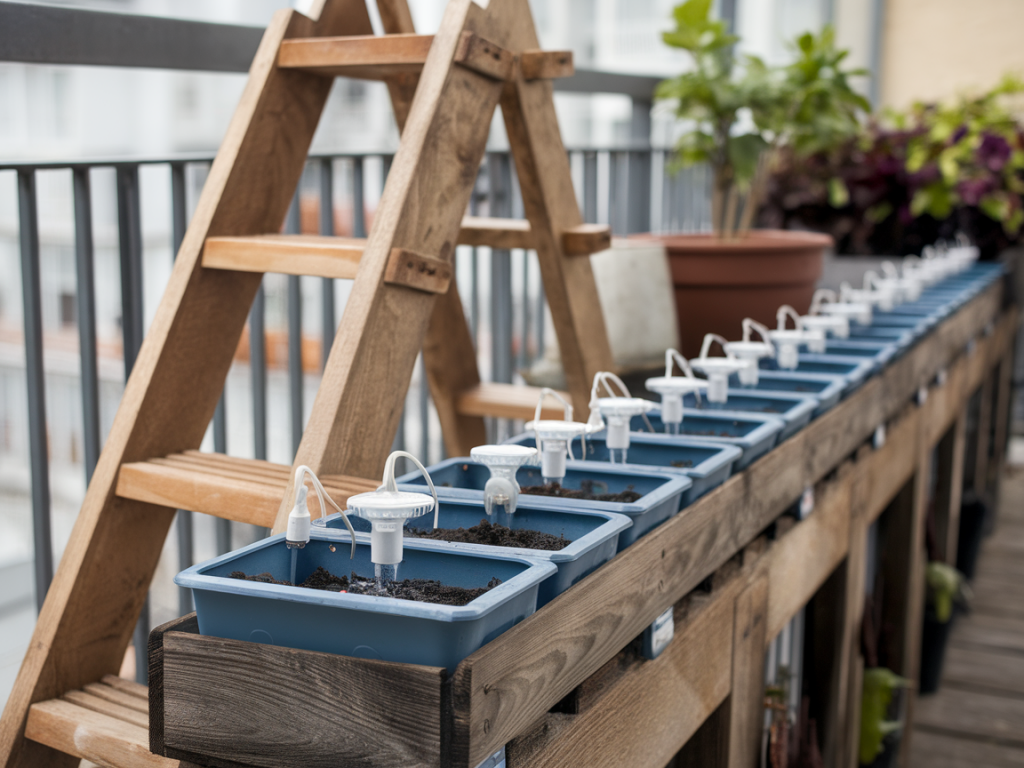
Placement: I sink the olla slightly off-centre so it’s within easy reach of most plant roots and not directly under a trailing plant that could block the top. Keep the neck at or slightly above the soil line for easy refilling and to reduce root intrusion into the opening.
Step-by-step setup
Here’s how I install an olla in an existing balcony pot. It takes about 10–20 minutes per pot.
Filling and watering schedule
I usually fill my ollas once, then check soil moisture every few days. How long an olla lasts depends on pot size, plant type, sun exposure and temperature. As a rough guide:
To fill, use a funnel or hose into the top. If you need to leave for a week, fill the olla just before you go and again the day before if it’s very hot or if containers are large and thirsty.
Which plants do well with ollas?
Ollas suit a wide range of balcony plants. I use them for:
Plants that dislike constant moisture—like some succulents, cacti, and Mediterranean shrubs—aren’t good candidates unless you use a tiny olla and very well-draining soil.
DIY olla alternatives
If you can’t find clay ollas, there are budget-friendly DIY options I’ve used:
I prefer true unglazed clay for its porosity and longevity. But in a pinch, the DIY options keep plants alive and save trips with the watering can.
Maintenance and troubleshooting
Ollas are mostly hands-off, but they do need occasional care:
| Problem | Fix |
| Soil stays soggy | Use smaller olla, improve drainage, add perlite to mix. |
| Soil dries out too fast | Use larger olla, add mulch, move pot to less-exposed spot. |
| Top water pools around olla | Check for compacted soil—loosen gently and water to help percolate. |
Costs and where to buy
For most balcony setups, an olla costs far less than automated drip systems. Expect to pay:
Good sources: local garden centres, Etsy artisans, Amazon, and specialty irrigation retailers. Search “unglazed clay olla” or “handmade ollas” to find a range of sizes and finishes.
Setting up ollas on my balcony was one of those small changes that makes summer gardening both easier and more enjoyable. They’re quiet, low-tech helpers that let me travel, relax, or simply water less without compromising plant health. If you try them, start with one or two in your thirstiest pots and see how they change your watering routine—chances are you’ll be as pleasantly surprised as I was.