I love a good weekend project, and building a small greenhouse is one of my favorites—especially when I picture seed trays germinating in February instead of April. A compact greenhouse is an affordable, efficient way to extend the growing season, get seedlings off to a strong start and protect tender plants from early frosts. In this post I’ll share how I set up a small greenhouse at home, what materials and tools I use, and practical tips that save time and protect my plants. These are the steps I actually follow on the ground, not theory—so you can take action this weekend.
Why a small greenhouse?
For me, the appeal is simple: a small footprint, low cost and quick results. A compact greenhouse (think 4–8 m² or even a tall cold frame) uses less space, less heating and less water than a full-sized structure. It’s perfect for:
Choosing the right location
Sunlight is key. I place my greenhouse where it receives maximum sun from mid-morning to late afternoon—ideally a south or southeast exposure if you’re in the northern hemisphere. Avoid deep shade from tall trees and make sure there’s good access so you can water, ventilate and move trays easily. If wind is an issue, position the long side facing prevailing winds or site it near a fence or building for shelter.
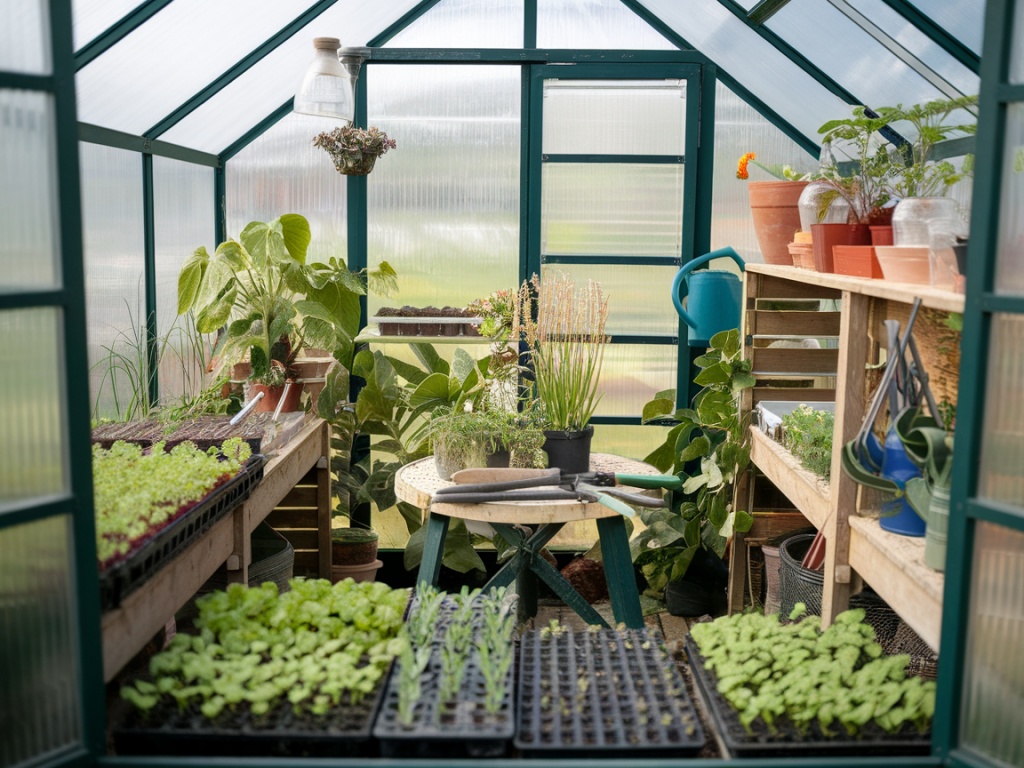
Size and structure: what worked for me
I built a 2.5 x 2.5 m timber-frame greenhouse with polycarbonate panels. If you prefer a budget option, a simple hoop house or a ready-made poly tunnel (e.g., Palram or similar brands) works well. For balcony or small patio spaces, consider a lean-to or a mini greenhouse—these are compact, lightweight and surprisingly effective.
Key structure choices I considered:
Essential equipment for a productive small greenhouse
Here’s what I always include. These items keep seedlings happy and save me from daily stress:
Soil mixes and seed starting basics
My go-to seed mix is light and free-draining. I blend:
This mix retains moisture while allowing roots to breathe. I sow shallow seeds on the surface, tiny seeds barely covered, and cover larger seeds with a thin layer of mix. Label every tray—this saves so many surprises.
Temperature and humidity control
Consistent warmth speeds germination, but too much humidity invites damping-off. Target temperatures:
Use a hygrometer and thermometer to monitor conditions. I open vents mid-morning on sunny days and close them late afternoon to retain heat. Automatic vent openers are a real time-saver; they work with expanding wax pistons and don’t need electricity.
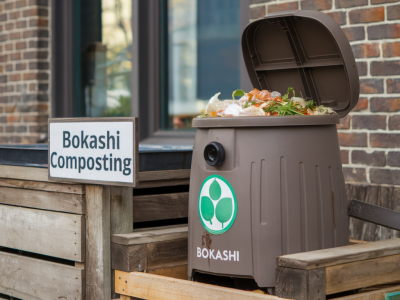
Pest prevention and hygiene
A small greenhouse can be relatively pest-free if you practice good hygiene:
Seasonal planting calendar (example for temperate climates)
| Month | What to start in greenhouse |
|---|---|
| February | Early tomatoes, peppers (with heat mat), aubergines, early lettuce |
| March | Tomatoes, leeks, brassica seedlings (cabbage, broccoli), hardy annuals |
| April | Seedlings to harden off; sow basil, courgettes indoors |
| August | Start autumn salads, winter lettuces, early broad beans |
| September–October | Overwinter herbs, protect late crops, sow garlic on shelves if desired |
Hardening off and moving plants outside
A greenhouse is perfect for gradual hardening. I follow a simple routine: expose seedlings to cooler temps and outdoor light for a few hours each day over 7–10 days, increasing time outside gradually. This prevents shock and ensures a higher transplant survival rate.
Small upgrades that make a big difference
Some things I added later that transformed the workspace:
Budget builds and quick wins
If you want a project for a single afternoon, try a cold frame: reclaimed timber, a clear glazed lid (old windows work beautifully) and a hinge. It’s low-cost, easy to move and excellent for both starting seedlings and warming beds in spring. For balconies, a simple mini-greenhouse (zippered PVC cover on shelving) will multiply your growing space without planning permission or a large investment.
If you want more detailed plans or a materials list for a specific size (balcony unit vs. backyard 2.5 x 2.5 m greenhouse), tell me your available space and budget and I’ll draft a step-by-step shopping list and layout you can use. On Groupegarden I also share seasonal planting guides and DIY project photos—drop by https://www.groupegarden.com to see examples and get inspired.