Plant Care

How to revive soggy soil in raised beds without digging everything up

How to revive soggy soil in raised beds without digging everything up

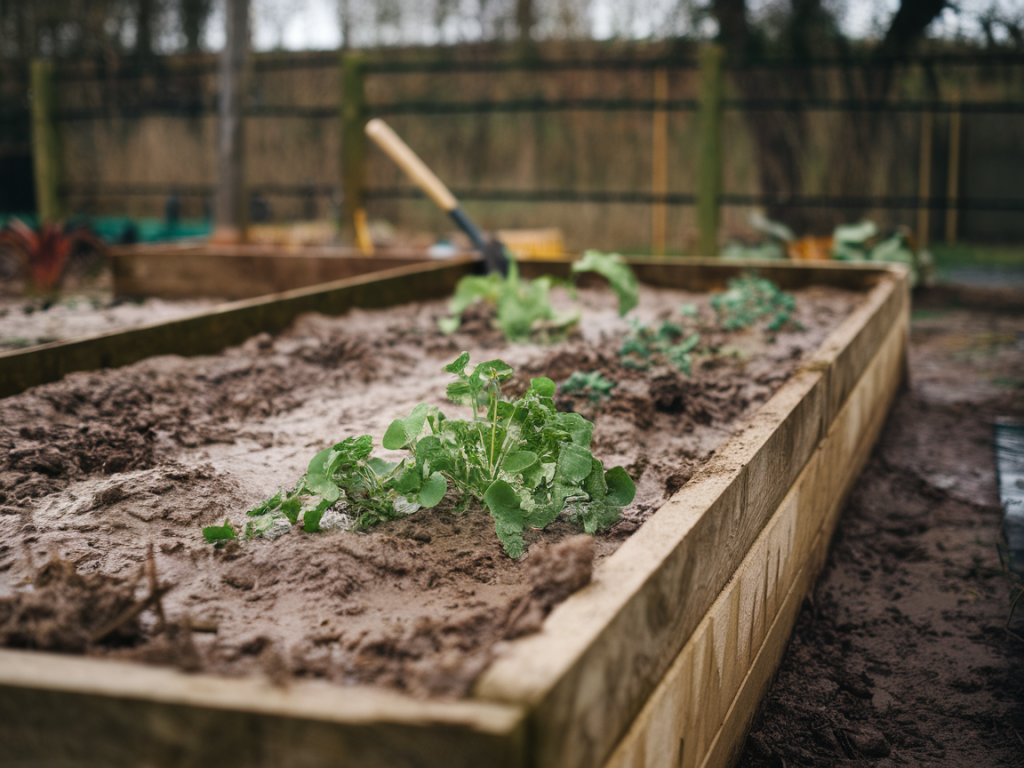
I often get questions about raised beds that stay waterlogged — soggy, smelly soil that seems to suffocate roots and zap plant vigour. I’ve had my share of beds that looked promising after a big planting project, only to turn into a sponge after the first heavy rain. Over the years I’ve learned practical, low-dig ways to rescue those beds so they drain better and plants breathe again, without the backbreaking chore of emptying the bed and starting over.

Why raised beds get soggy (even when they’re raised)

It sounds obvious, but elevated doesn’t always mean well drained. Common causes I see are compacted soil from heavy watering or foot traffic, a dense blend of poor-quality topsoil or compost that holds too much water, a blocked drainage outlet, or an underlying layer of fine material (like subsoil or clay) that prevents water movement. Sometimes the culprit is too much organic matter without structure — peat and fine compost can retain water like a sponge. And a hidden problem is that new beds with fresh compost sometimes settle and compact over the first season, cutting off the tiny air spaces roots need.

Assess the problem before doing anything drastic

Before reaching for a shovel or buying more soil, spend a few minutes diagnosing the bed.

  • Check soil depth and texture — use a trowel to remove a small plug and feel it. Is it clay-like, or spongy and dense?
  • Look for standing water after rain. If water ponds for more than 24–48 hours, drainage is poor.
  • Inspect the base of the bed — is there a liner, compacted subsoil, or a buried weed membrane blocking flow?
  • Note plant symptoms (yellowing leaves, stunted growth, wilting during wet periods).
  • These observations will guide which low-dig fixes will help most.

    Quick fixes you can do without digging everything out

    Here are practical steps I use on my beds. Work from least invasive to more involved so you avoid unnecessary effort.

  • Improve surface aeration — Gently fork the top 5–10 cm (2–4 inches) of soil with a hand fork or broadfork. Don’t turn the bed over; just relieve compaction and create channels for air and surface water to move. I do this each spring and mid-season as needed.
  • Add drainage channels — Insert narrow gravel or sand-filled “wicks” to move water away from the root zone. I use lengths of perforated PVC (50–75 mm/2–3") with holes drilled along the lower half, pushed vertically into the bed every 30–50 cm. Fill with coarse gravel before replacing soil. These act like mini-drains without removing plants.
  • Topdress with gritty material — Sprinkle and scratch in a 2–5 cm (1–2") layer of horticultural grit, sharp sand, or fine gravel across the bed. This improves surface structure and prevents a crust that holds water. For veg beds I use washed builder’s sand sparingly; for perennials I prefer grit mixed with compost.
  • Use organic matter with structure — Not all composts are equal. Replace or topdress with well-rotted compost mixed with coarse materials like woodchip, leaf mould or coconut coir to improve porosity. I avoid fresh, fine compost that can compact.
  • Install a simple raised ridge — Create gentle mounds or ridges for plants that need better drainage. You can do this around individual plants by mounding the soil, which improves root aeration and reduces rot.
  • Improve outlet drainage — Ensure the bed has an outlet at the base and that the surrounding soil slopes away. If a timber bed sits against compacted ground, plant edges can trap water; dig a shallow trench around the outside to channel runoff away.
  • Switch irrigation approach — Overwatering makes a bad situation worse. Use drip irrigation or soaker hoses on a timer set for shorter, more frequent watering that doesn’t saturate the entire bed. I also avoid sprinklers that wet the whole surface for hours.
  • When to use reservoir or passive drainage layers

    For very heavy soils, add a passive drainage layer along the bottom without full excavation. I’ve used the following method successfully in several beds:

  • Dig narrow trenches at the base edge of the bed and lay a 5–10 cm (2–4") layer of coarse gravel or crushed stone into them.
  • Place a layer of landscaping fabric over the gravel to keep soil from clogging it.
  • Replace the soil carefully, leaving the fabric edges accessible for maintenance checks.
  • This creates a hidden reservoir where excess water can gather away from roots and then slowly drain off — a good compromise to full replacement.

    Plant choices and rearranging to help drying

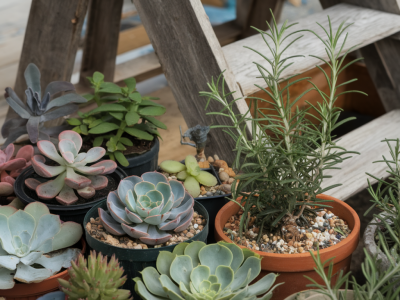
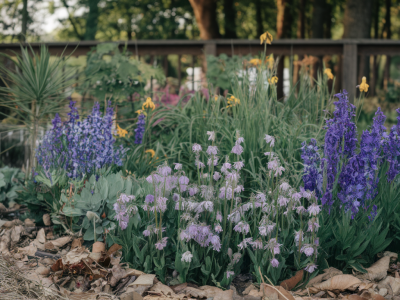
    While you’re fixing drainage, move the plants that hate wet feet: tomatoes, lavender, rosemary and many mediterranean herbs will suffer in soggy soil. Swap them temporarily with moisture-tolerant species such as astilbe, ligularia, native irises or sedges which will tolerate a season of wetter conditions.

    Useful products and tools I recommend

    Broadfork To relieve compaction without turning the bed — Fiskars or Spear & Jackson make good models.
    Perforated PVC Cheap and effective for vertical drainage wicks; drill holes every 5–7 cm.
    Horticultural grit / washed sand Improves porosity; available at garden centres or landscapers.
    Coarse compost / leaf mould Use mature, fibrous materials rather than fresh, fine compost.

    How to maintain improved drainage

    Once a bed drains better, keep it that way with these habits I use every season:

  • Topdress with a thin layer of grit or coarse compost annually.
  • Avoid walking on beds — use stepping stones or temporary boards to prevent compaction.
  • Refresh drainage wicks or gravel trenches if you notice re-saturation after heavy storms.
  • Rotate crops and plant water lovers in problem spots.
  • Quick troubleshooting guide

    Symptom Likely cause Quick fix
    Standing water >48 hours Blocked outlet or very fine subsoil Add drainage wicks, create outlet, lean soil away from bed edge
    Plants wilting after rain Root oxygen deficit Surface aeration, add grit, move sensitive plants
    Bed smells sour Anaerobic conditions Fork surface, add coarse organic matter, reduce watering

    Fixing soggy raised beds doesn’t always require a complete tear-out. With a few strategic, low-dig interventions — surface aeration, drainage wicks, better-structured topdressing and thoughtful plant choices — you can restore healthy soil structure and get plants thriving again. If you want, tell me about your bed (dimensions, soil type, what you’re growing) and I’ll suggest the best next steps for your situation.

    You should also check the following news:

    The best container mixes for fast draining pots and bigger root systems
    Plant Care

    The best container mixes for fast draining pots and bigger root systems

    I often find that the difference between a pot that struggles and one that thrives comes down to...

    Dec 02 Read more...
    How to create a pollinator corner with native perennials on a tight budget
    Eco Gardening

    How to create a pollinator corner with native perennials on a tight budget

    I love creating small, buzzing pockets of life in corners of the garden that weren’t doing much...

    Dec 02 Read more...