When I first tackled irrigation for a 10 m² flower border, I wanted something that was simple, water-efficient and low-maintenance — not a full sprinkler system, but better than hand-watering every evening. After testing a few setups and helping friends fit kits into narrow beds and cottage-style borders, I’ve learned what matters most when choosing a drip irrigation kit: flow and pressure compatibility, emitter types, ease of installation, and how the system matches the plants you grow.
Why choose drip for a small flower border?
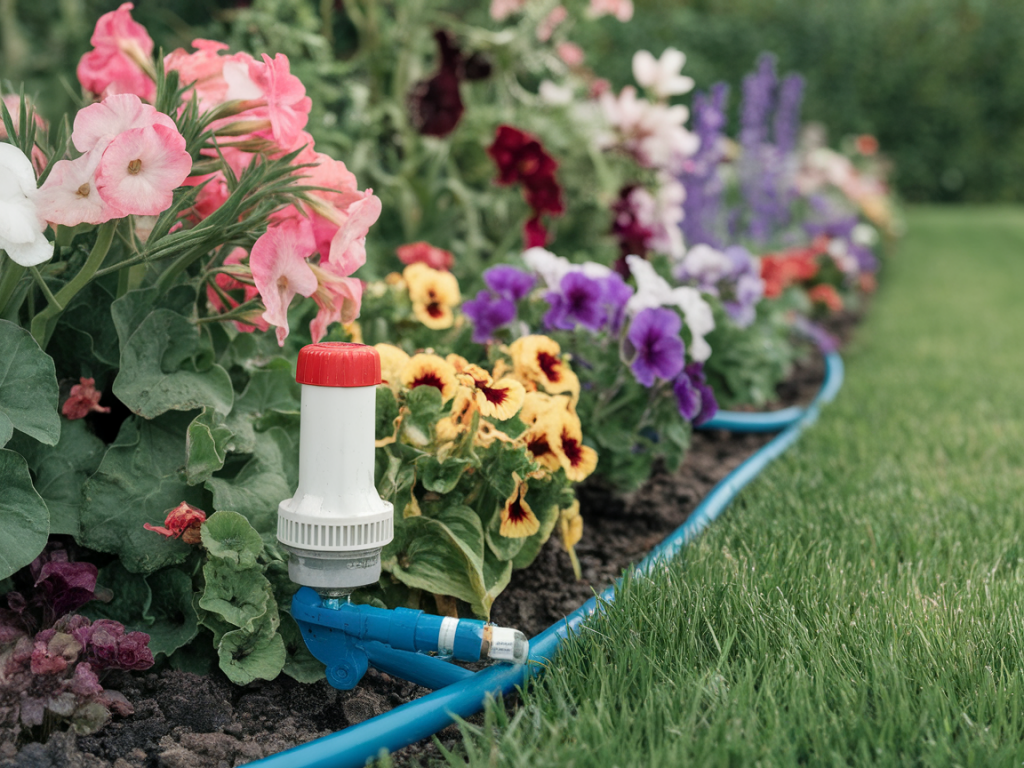
I favour drip irrigation for flower borders because it delivers water straight to the root zone where plants need it most. This reduces evaporation, discourages fungal disease by keeping foliage dry, and uses far less water than sprinklers. For a 10 m² space — roughly a 2 x 5 m bed or a 3 x 3 m square with paths — a compact drip kit can be more than enough. It’s also ideal if you want to add a timer and forget watering during busy weeks or holidays.
Key components to look for
Most complete kits include a few core parts. Here’s what I focus on:
Sizing the system for 10 m²
I like to start by sketching the bed and marking plant groups with similar water needs. For a 10 m² border, you’ll rarely need more than one tap connection and one continuous run of main tubing. Here’s a quick rule of thumb I use:
Choosing between built-in dripline vs individual emitters
Both have pros and cons. I often use a combination depending on the bed layout.
Pressure and flow — what your tap needs to provide
Check your tap pressure and flow rate. Most household taps provide more than enough flow for a small border, but pressure can be high. A pressure regulator (0.8–1.5 bar recommended for drip) is essential. If your tap has very low flow, use fewer emitters or lower flow ones. Here’s a simple table I use to decide how many emitters I can run:
| Tap flow (L/min) | Usable emitters at 2 L/h each |
| 10 L/min | ~300 emitters |
| 5 L/min | ~150 emitters |
| 1 L/min | ~30 emitters |
These numbers are illustrative — real-world constraints like pressure loss and tubing length reduce practical totals — but for a 10 m² border you’ll likely use fewer than 20 emitters anyway.
Installation steps I follow
I like to keep installation a weekend DIY project. Here’s my step-by-step approach:
Maintenance tips — keep it working for years
Drip systems are low maintenance but need seasonal attention. I clean the filter monthly during the watering season, and I run a flush through the main line at the start and end of each season. If you have hard water or iron in your supply, consider a finer filter and occasional vinegar flush to dissolve mineral buildup.
If an emitter clogs, I take it out, soak it in water with a little vinegar and brush it with an old toothbrush. Replace cheap emitters every few seasons if they become unreliable — quality components (brands like Rain Bird, Hunter or Gardena) last longer and are worth it for long-term peace of mind.
Timer settings and watering strategy
Timing depends on soil type, plant age and weather. For established perennial borders in loamy soil I typically set a timer for two short sessions per week during summer: 15–25 minutes each, depending on emitter flow. For sandy soils or newly planted seedlings I use more frequent short cycles to keep the root zone evenly moist. Early morning is best to reduce evaporation and avoid encouraging slugs overnight.
Budget and kit recommendations
For a 10 m² border you don’t need an expensive setup. Basic kits start around $30–$60 and include regulator, filter, main tubing and several emitters. I’ve installed the Gardena Micro-Drip kit for friends and liked its ease-of-use and durable fittings; Rain Bird’s dripline is robust and widely available. If you want to add a reliable timer, expect to pay an extra $40–$120 for a battery or smart unit (AquaLogic and Orbit have good, affordable timers). Spend a little more on a quality filter and regulator — they prevent headaches later.
Finally, don’t be afraid to experiment. I’ve adjusted emitter placement seasonally as perennials fill in, and switching a few emitters to higher flow revived a row of thirsty agastache last summer. A well-chosen drip kit makes a 10 m² flower border flourish with minimal fuss — and lots more time to enjoy the blooms.