I’ve been rescuing leggy seedlings for years — those floppy, pale little things that stretch toward the light and look as if they’ll snap at the next breeze. You don’t need to throw them away, invest in grow lights or buy new seed trays. In many cases, a focused 10-day rescue plan will thicken stems, deepen color and give seedlings the strength to thrive once planted. Below I’ll walk you through the steps I use in my own greenhouse and on my windowsill, with practical, low-cost tricks you can do this weekend.
Why seedlings go leggy (and what to expect in 10 days)
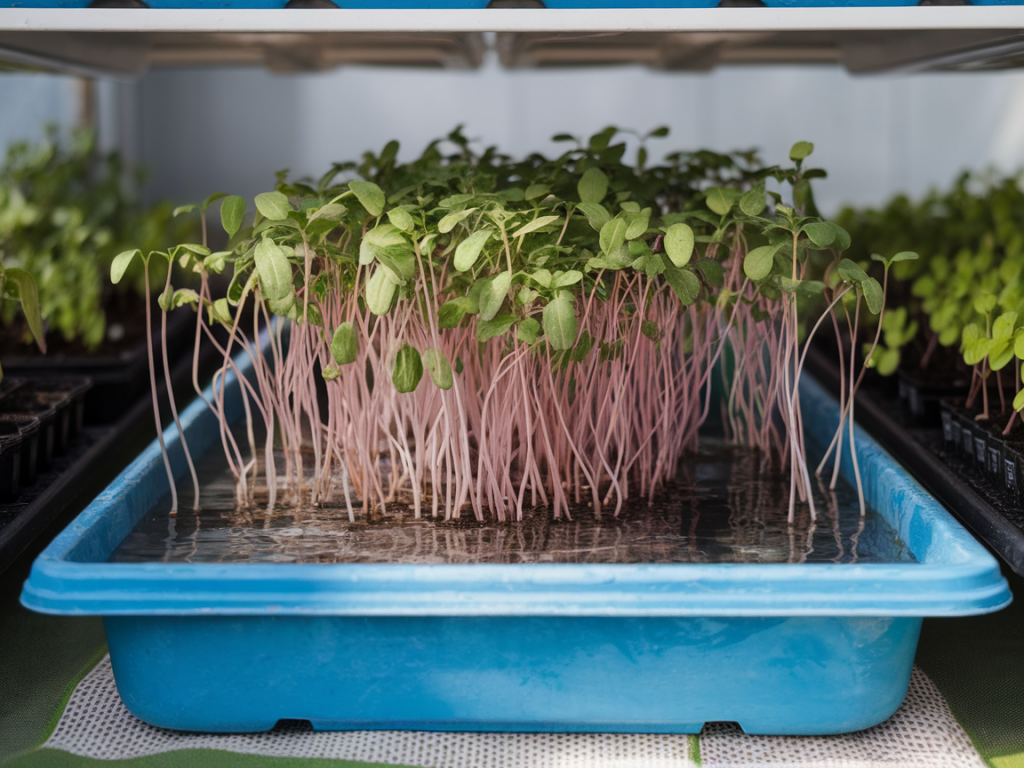
Legginess is usually a response to insufficient light — seedlings stretch to reach a light source, becoming tall, weak and pale. But other factors matter too: overcrowding, too-warm temperatures, and inconsistent watering can all make stems thin and spindly. The good news is that seedlings can recover quickly if you give them stronger light, slightly cooler temperatures, gentle mechanical stress and better root support.
In 10 days you can expect:
Not all seedlings recover fully — extremely weak or rootbound plants may still fail — but most can be brought back to health with these steps.
Day 0: Sort and assess
Start by sorting your seedlings so you can focus on the recoverable ones. Gently lift each seedling by the cotyledons (the first leaves) — never pull on the stem. If the root ball falls apart or the stem tears, that seedling is likely a loss.
Keep seedlings that have:
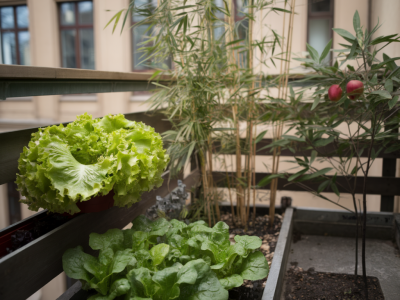
For the rest, consider taking cuttings (pelargoniums, some salvias) or sowing fresh seeds. I always keep a small pack of fast-sowing seeds like nasturtiums or lettuce for emergencies.
Lighting: Make the most of natural light (no special lights)
You don’t need an expensive LED setup. What matters is stronger, more direct light and better light distribution.
Temperature and airflow: cool down and strengthen
Warmth encourages rapid, leggy growth. Slightly cooler temperatures (about 5°F / 2–3°C lower than room temperature) slow that stretch and give sturdier stems a chance to form.
Soil, watering and light feeding
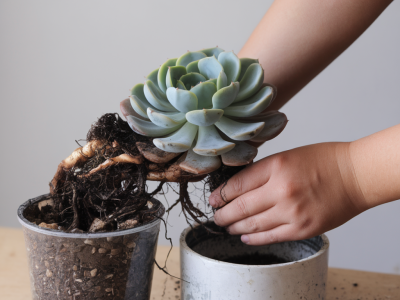
Leggy seedlings often have weak root systems. Improving the growing medium and watering routine gives roots something to grab onto and promotes compact growth.
Stem hardening: bury stems or use the potting trick
One of my favorite, old-school tricks is to bury part of the stem. Many plants (tomatoes, peppers) will grow roots along buried stems, creating a sturdier, shorter plant.
Mechanical stimulation: the gentle toughening
A little stress helps. You don’t need a wind tunnel — just a light touch.
Daily 10-day schedule (quick table)
| Day | Morning | Afternoon/Evening |
|---|---|---|
| 1 | Assess and sort; move to bright window; rotate | Bottom-water; add top-dress compost |
| 2 | Cool night placement; light feed (half-strength) | Gently brush foliage / fan 30 min |
| 3 | Repot deeper or bury stems where possible | Rotate; check moisture |
| 4 | Bottom-water if needed; thin overcrowded trays | Fan or hand-brush 2x |
| 5 | Light feed if leaves still pale | Inspect for pests or damping-off |
| 6 | Rotate; continue airflow routine | Ensure cooler night temps |
| 7 | Pinch tops for bushier growth where suitable | Check for rooted stems in buried plants |
| 8 | Thin weaker seedlings; re-pot best performers | Final light feed if necessary |
| 9 | Gently harden with longer fan sessions | Prepare for transplanting (if outdoor conditions allow) |
| 10 | Assess thickness and color; transplant or continue care | Celebrate rescued seedlings! |
Troubleshooting common problems
If seedlings remain pale after a few days, check your light — reflection and rotation often help more than extra fertilizer. If you notice small brown patches on stems or mushy bases, suspect damping-off: remove affected seedlings immediately, let the compost dry a bit and avoid overhead watering.
If pests show up (aphids or fungus gnats), I reach for insecticidal soap or a few drips of neem oil, applied in the cool part of the day. For fungus gnats, let the surface dry out and consider a layer of sand to prevent egg-laying.
What not to do
I’ve saved everything from indoor basil to heirloom tomatoes with these methods. It’s satisfying to see a pale, floppy seedling turn green, squat and confident in just a few days. Try the ten-day plan on your next batch — you might be surprised how resilient those little plants are once you give them the right conditions.